I use a Samsung Galaxy S4 mini Duos for last 8 months or so . From the initial days itself i found that my battery does not lasts not more than half a day . I tried the various battery saver apps , switched the GPS off , mobile data off and minimal wifi usage . But still no success . I found out that my phone is losing about 4 % charge every hour , even in the sleep hours . That was perplexing . I searched the various forums and discussed my dilemma with the experts , but the tips they gave me was not evoking any response in my phone . In fact the tips given by them were trivial and i had already applied with no success . Then i got the Kitkat update for my phone . After the updation , the issue seem settled . But after a few days my phone went back to dismal battery life . Even in flight mode, the phone was using more than 35 % battery in 5 hours !!
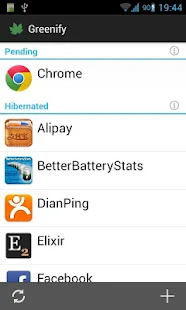
Then i decided to root the phone. I knew that rooting will make the warranty void. Hell with the warranty . After rooting also , the battery issue was prominent . Then i got the little app called Greenify . What it does is hibernating the apps running in the background . Along with an Xposed module and a donation version of Greenify , we can even hibernate the system apps. You can run Greenify even in non rooted phones , but functionalities are obviously limited , even with a donation version. Well actually if you are very patient , you don't even need this app. All you have to do is to got the task manager and manually stop / force stop each and every app running in the background .
Anyhow , Greenify yielded me a 10-20 % boost in battery life . But i was not satisfied .
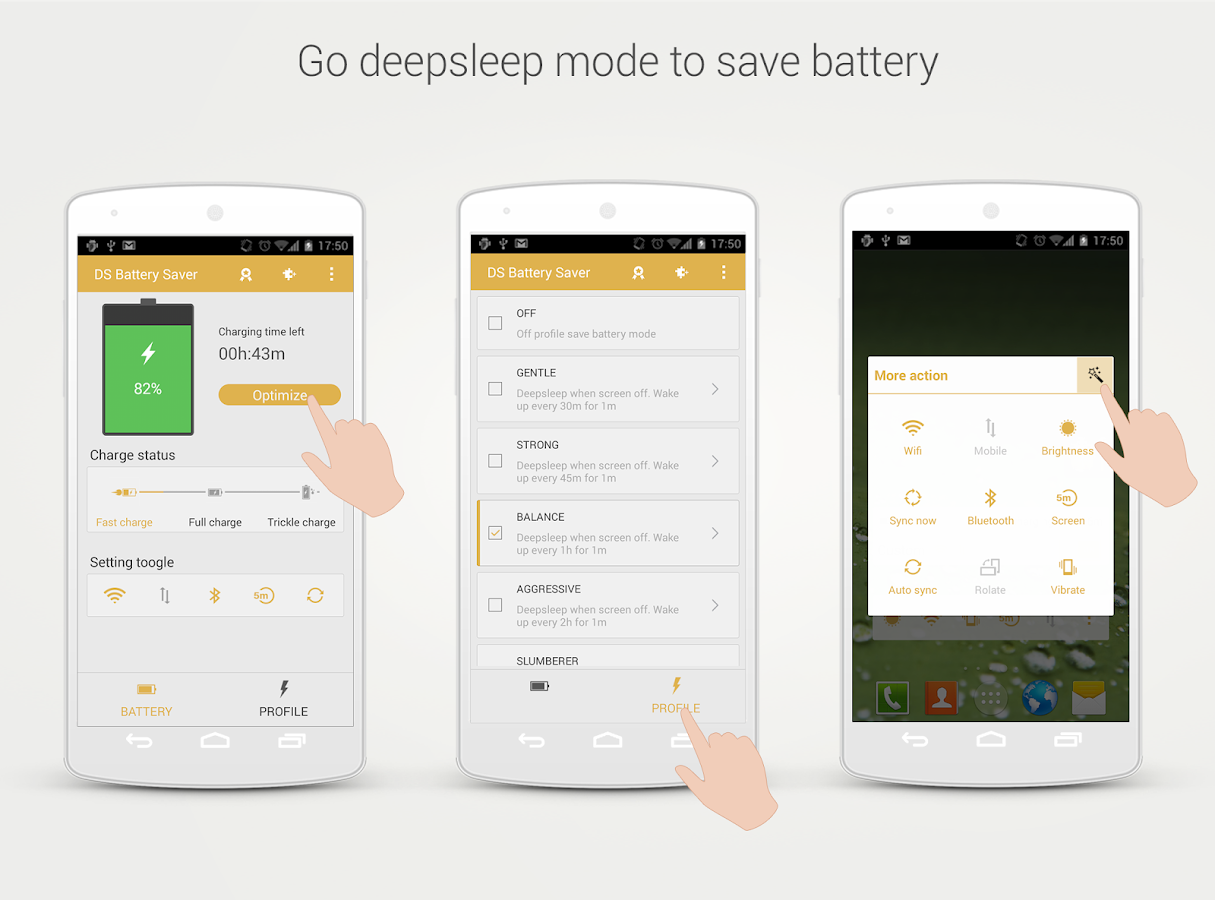
Somebody recommended me an app called WakeLock Detector. As the name suggests , this app will monitor our phone silently and gives us an insight on which apps are waking up the phone . Just the list of apps . No hibernation / fressing is done by WLD . Since i already had this feature partially addressed by Greenify itself , i didn't find it useful . Then i discovered the apps - Deep Sleep Battery saver and the Battery Stats Plus . Deep Sleep Saver puts the device into deep sleep mode as and when the screen is off . You can choose the frequency and duration of sleep using the profiles .
Battery Stats Plus analyses our phone continuously , detects and notify the battery draining apps . Moreover , you can compare your stats with that of other users through cloud service .
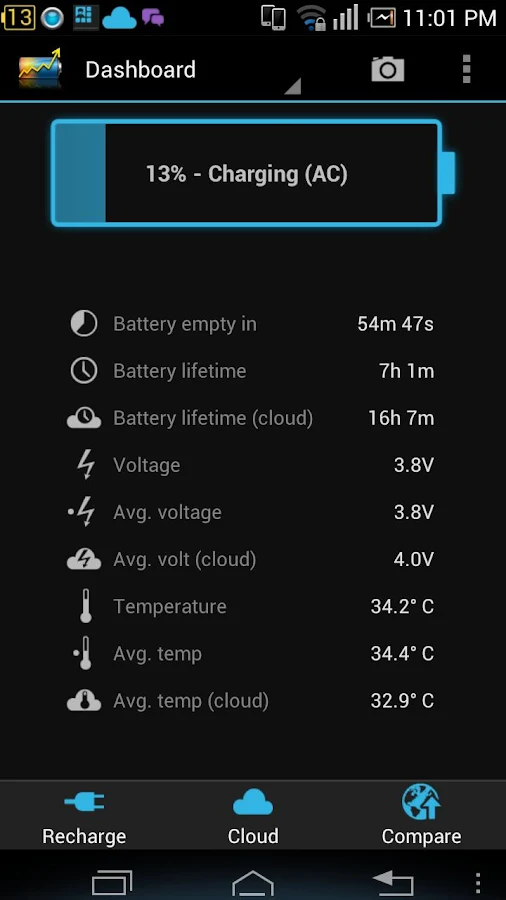
Together with these apps , my phone gained noticeable battery life . But there were some issues like my phone was draining more during the night than in the day time. I charged my phone completely in the morning at 9 . By evening 5 , after moderate internet and phone usage , the battery stands 71 % at 5 in the evening . At night 11 , it was 60% . Next day morning 7 , the stats read 19 % . The battery stats says that installed apps used less than 11 % . Android system , Device Idle, Google Services and System Stand By used more than 70 % together and the rest by display and media server .
I realized that , even though Greenify hibernates system apps , some of the bloat wares that came preloaded are explicitly waking the phone up and that was causing the draining . In the mornings , i sued to click the auto hibernate button every now and then . Whereas in the night the phone is completely depending upon the greenify to auto hibernate those apps , which never happened effectively . This explains the night draining issue .
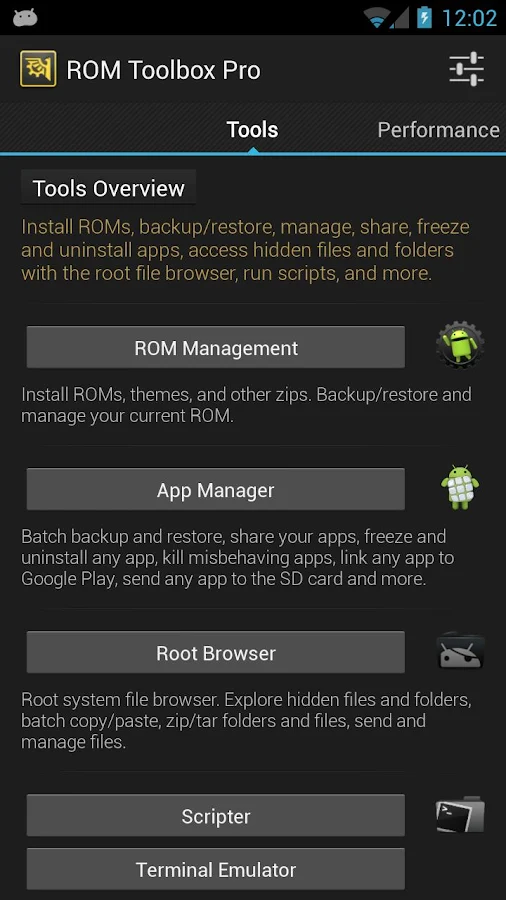
Then came the ROM Toolbox Lite / Pro . This app is a swiss army knife. Multiple apps bundled into an interface . I used the Appmanager to find which apps are running . I found a dozen bloatwares(samsung services and apps) and some apps and froze them . It is essentially the same what you can achieve by disabling the apps in the default Android task manager . But this app just simplifies the process . Anothe feature i found helpful is the ability to modify the permissions of the apps . If you feel suspicious about an app/ game asking for your phone contact details / device status etc , you can disable that particular permission without affecting the normal functionality of the app .
Then i decided to root the phone. I knew that rooting will make the warranty void. Hell with the warranty . After rooting also , the battery issue was prominent . Then i got the little app called Greenify . What it does is hibernating the apps running in the background . Along with an Xposed module and a donation version of Greenify , we can even hibernate the system apps. You can run Greenify even in non rooted phones , but functionalities are obviously limited , even with a donation version. Well actually if you are very patient , you don't even need this app. All you have to do is to got the task manager and manually stop / force stop each and every app running in the background .
Anyhow , Greenify yielded me a 10-20 % boost in battery life . But i was not satisfied .
Somebody recommended me an app called WakeLock Detector. As the name suggests , this app will monitor our phone silently and gives us an insight on which apps are waking up the phone . Just the list of apps . No hibernation / fressing is done by WLD . Since i already had this feature partially addressed by Greenify itself , i didn't find it useful . Then i discovered the apps - Deep Sleep Battery saver and the Battery Stats Plus . Deep Sleep Saver puts the device into deep sleep mode as and when the screen is off . You can choose the frequency and duration of sleep using the profiles .
Battery Stats Plus analyses our phone continuously , detects and notify the battery draining apps . Moreover , you can compare your stats with that of other users through cloud service .
Together with these apps , my phone gained noticeable battery life . But there were some issues like my phone was draining more during the night than in the day time. I charged my phone completely in the morning at 9 . By evening 5 , after moderate internet and phone usage , the battery stands 71 % at 5 in the evening . At night 11 , it was 60% . Next day morning 7 , the stats read 19 % . The battery stats says that installed apps used less than 11 % . Android system , Device Idle, Google Services and System Stand By used more than 70 % together and the rest by display and media server .
I realized that , even though Greenify hibernates system apps , some of the bloat wares that came preloaded are explicitly waking the phone up and that was causing the draining . In the mornings , i sued to click the auto hibernate button every now and then . Whereas in the night the phone is completely depending upon the greenify to auto hibernate those apps , which never happened effectively . This explains the night draining issue .
Then came the ROM Toolbox Lite / Pro . This app is a swiss army knife. Multiple apps bundled into an interface . I used the Appmanager to find which apps are running . I found a dozen bloatwares(samsung services and apps) and some apps and froze them . It is essentially the same what you can achieve by disabling the apps in the default Android task manager . But this app just simplifies the process . Anothe feature i found helpful is the ability to modify the permissions of the apps . If you feel suspicious about an app/ game asking for your phone contact details / device status etc , you can disable that particular permission without affecting the normal functionality of the app .
So with all these done , my phone is somewhat normal , i guess . It can run a day and a half in single charge with moderate WiFi and game usage .
So to wrap up the post , here are my tips to save the battery .( includes the cliches)
1 . Keep the display brightness in minimum .
Even with auto brightness set , you can reduce it further by moving the slider to minimum position (-5 in Samsung ). Set the display off time limit to minimum.
2 . Turn Location / GPS off when not in use .
By default , the location mode is set to High accuracy , where in the app uses the WiFi , GPS and Mobile network to triangulate your position . This is a huge battery drainer . So either you can turn the location off or change the accuracy to low . Also keep WiFi and mobile data off , when not in use.
3. If Power Saver Mode is available , turn it on .
Not a real saver , in my case . But who knows , give it a try
4. There is no point in downloading the battery saver apps , unless your device is rooted , because those apps in turn will eat up a portion of your battery life .
5. Root your device
Gain control over the bloatwares .
6. Use these 3 Apps - Greenify (Donate) , Deep Sleep Battery Saver and ROM Toolbox Pro .
Greenify the apps and enable hibernating system apps . You can safely hibernate almost all apps , but do not hibernate the alarm and clock apps. Use the AppManager and find the running apps and services. Do a google search for any of the service and find whether disabling it will cause any issues .
7. And finally , you can save further by disabling Google Play Services and Play Store .
But this will affect some apps that need Play services . Also you couldnot download from Play Store. So not recommended to disable . But you can safely force stop Google Play Services and Playstore , when not in use . Definitely saves a lot .

